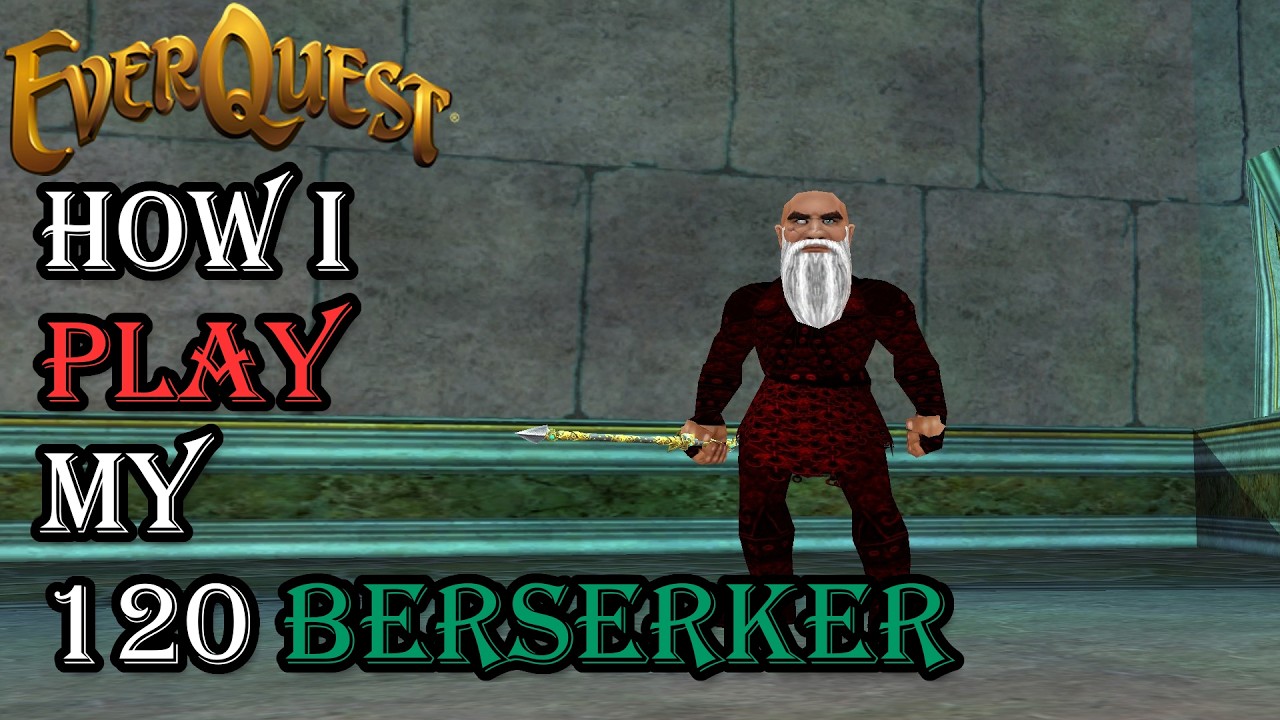
How I Play My Level 115 Berserker
A walkthrough of my level 115 Berserker setup. This is a heroic character being power-leveled with my 130 group. Covers the disc rotation, the Restless / Magnified frenzy timer trick, the Axe of Derakor reagent setup, and Shared Atavism for boosting Warrior DPS.
A heroic Berserker being leveled up alongside the main warrior group. Around a million DPS when actively positioned, all on a single multibind. Covers the dual frenzy timer trick (long-reuse Restless first, short-reuse Magnified to refill), Axe of Derakor reagent management, and Shared Atavism for buffing the Warrior tank.
Session Overview
The setup at 115.
- Role: Pure burst melee. Disciplines only, no spells.
- Character: Heroic Berserker being power-leveled with the 130 main group.
- Gear: Velium Threaded weapons (CoV tier 3), Snowbound non-visuals (ToV tier 1) plus the Paladin's hand-me-downs.
- Multibind: Everything on the 5 button. Push once, the whole rotation fires.
Frenzy Rotation (Core DPS)
The two frenzy spells on the same timer.
- Restless Frenzy (Timer 11, 10min reuse): Frenzy strike proc on melee for 3,000 damage. Lasts 36s, refreshes on each strike. Requires below 90% health.
- Magnified Frenzy (Timer 11, 2min reuse): Adds 6,500 damage to each hit. Same timer but much shorter reuse. Requires below 90% health.
- The trick: Cast Restless first. Once it falls off, Magnified is always up to fill the timer. Both stay rolling at maximum uptime.
Health threshold: Keeping under 90% is the hardest part with a Shaman group healing. Sometimes the heal ticks bring you back above 90% before you can refresh.
Key Abilities
The rest of the disc bar.
- Axe of Derakor: Three massive axe swings (875, 1200, 500 base damage, hits for 115k/154k/205k). Consumes Axe of the Vindicator reagents from the summon.
- Vindicating Volley: Four-axe ranged flurry, ~40k per hit, 12s reuse.
- Vindicating Axe Throw: Single ranged axe throw for ~83k damage.
- Vicious Revolution (Timer 16): 4,700 AoE to up to 12 targets. Use over Arc Slash for big pulls.
- Seething Rage: Melee proc adds two extra attacks for 291 each. 27% chance to refresh.
- Phantom Assailant: Pet clone that does negligible damage. Mostly there because it's free.
- Composite Rage: Current progressive. Three two-handed slashes for 5,100 damage plus a group buff (300 stats, hate reduction, +6,700 DS damage). Cast on cooldown.
Shared Atavism
Why Berserker + Warrior is broken.
- What it does: Buffs your target's target (the tank) with a damage boost. +163 damage with 1H, +324 with 2H for 30 seconds.
- Self component: +491 damage on your own 2H weapon for the duration.
- Stack effect: Notice 500k to 1 million DPS uplift on the Warrior when this is rolling.
- Group impact: Helps the whole 6-box passively hit 10 million DPS without trying.
Use on cooldown: 30 second buff that's almost always up. Berserker + Warrior is one of the strongest melee pairings in the game because of this single ability.
Burn Sequence
Stacking everything for the kill window.
- Silent Strikes: Aggro reduction. Open with this.
- Focused Furious Rampage AA: Adds extra primary-hand melee rounds.
- Desperation AA: +25% overhaste, +10% additional hit chance for 5 minutes.
- Blinding Fury: +750 attack power, lower weapon delay, more double attack chance. You go blind for the duration so make sure positioning is set.
- Spire of the Juggernaut: Hit point boost plus damage and crit damage scaling.
- Mangling Discipline: +221% crit chance, +54 base damage on all attacks.
- Avenging Flurry Discipline: -18% weapon delay, 100% double attack, 15% flurry chance. Level 89 disc that never gets replaced.
- Vehement Rage: Base damage boost, lowers incoming heals (acceptable trade).
Burn 3: Battlecry, Frenzied Resolve (+30% accuracy + extra hit), Savage Spirit (+290% melee damage, costs 25% HP), Intensity of the Resolute (+50% damage, doesn't stack with glyph), and Brutal Discipline (massive damage potential).
Juggernaut Surge & AAs
The Gollum form and other key AAs.
- Juggernaut Surge: Turns you into a Gollum. Visual flair plus a weapon damage boost. Looks cool, can be blocked if you don't want it.
- Draw Blood: Gravitates you toward your target. Useful when blinded during burns.
- Battle Leap: Position jump for 75k damage on landing. Same as the Warrior version. Critical for box positioning.
- Binding Axe Strike: Damage plus an attack power debuff and snare.
- Intimidation: Decimator's Intimidation buff. Increases incoming damage from frenzy attacks. Pair with Auto Skill Frenzy for free damage.
- Blood Pact AA: Proc that consumes 1% HP for 6,000 damage. Upgrades to 7,000 next rank.
Gear & Tribute
Best in slot at 115.
- Best group armor: Terror of Luclin tier 1 or CoV tier 3. Very close in stats.
- Two-hander: Velium Threaded with the lifetap aug (71% of 7,000 lifetap). 19 ratio.
- Belt: Overpunch belt (slow proc belt).
- Power source: Attacker source, not tank source.
- Stat focus: Stack Heroic Dexterity for melee classes. Aerodexterity and Vigor on non-visuals.
- Tribute: Bulwark of Honor, Eyes of the Hunter, Fury of Combat, Hero's Deafness, Vengeful Aura.
AA priority when leveling: Pick anything that boosts damage on the abilities you actually use. Defense is wasted when you're being power-leveled in a high-tier group.
Quick Rotation Cheat Sheet
- Pre-pull: Composite Rage on cooldown, Auto Skill Frenzy on, tribute up.
- Engage: Restless Frenzy, then Magnified Frenzy on the next refresh.
- Spam (multibind 5): Composite Rage, Vindicating Volley, Vindicating Axe Throw, Seething Rage, Axe of Derakor, Shared Atavism.
- Burn: Silent Strikes, Focused Furious Rampage, Desperation, Blinding Fury, Spire of the Juggernaut, Mangling Discipline, Avenging Flurry Discipline.
- Big AoE pull: Vicious Revolution (12 targets, 4,700 each).
- Position: Battle Leap or Draw Blood.